yarn
No more searching for the perfect yarn! Learn the easy basic steps of dyeing yarn right at home Have you see the stunning hand dyed yarns in your local yarn shop or at a wool fest? Don’t those lovely skeins make you want to try and dye your own yarns? Well, you can! This easy…
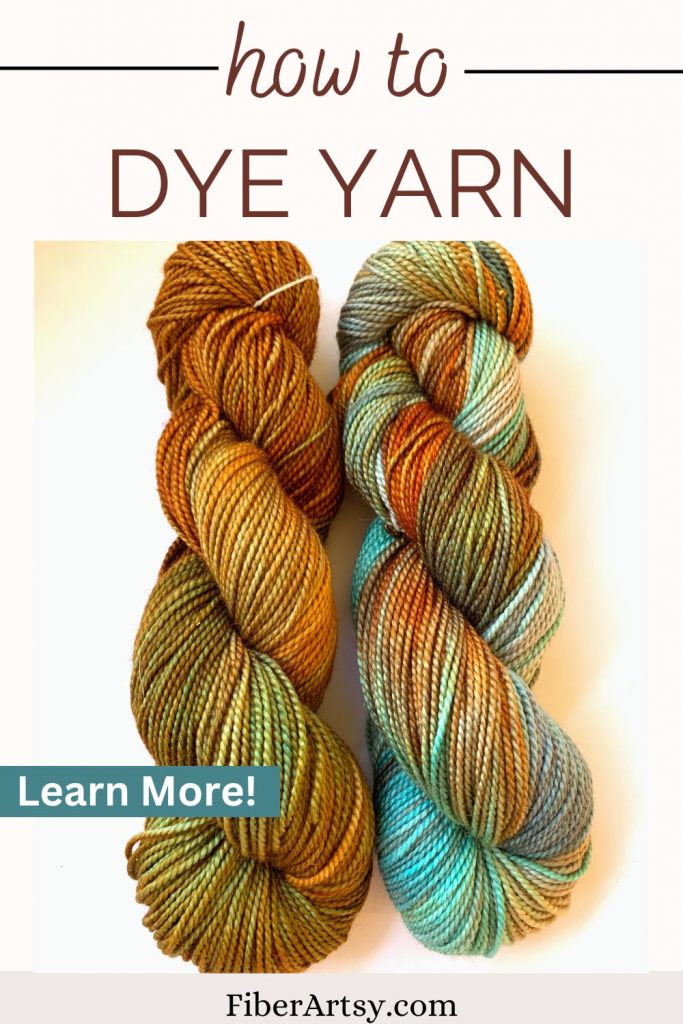
No more searching for the perfect yarn! Learn the easy basic steps of dyeing yarn right at home
Have you see the stunning hand dyed yarns in your local yarn shop or at a wool fest? Don’t those lovely skeins make you want to try and dye your own yarns? Well, you can!
This easy step by step tutorial shows you the basic steps of dyeing wool yarn right at home. And don’t worry, it does not have to be expensive, either.
What is hand dyed yarn?
It may sound obvious but it refers to yarn that has been dyed by hand, in small batches and without the use of large machines. This can be done with a variety of techniques including hand painting, kettle dyeing, speckle dyeing, crock pot dyeing and more.
The main criteria (in my view) is that the batches of yarn are relatively small and the dye process does not include the use of large machinery and is “hand made”.
A note about the supplies you need:
Before you begin, there are a few things for you to consider. First, for this particular method your yarn needs to consist of protein fiber or mostly protein fiber.
By protein, I mean any animal fiber such as sheep wool, alpaca fiber, goat, bison or any fiber that comes from an animal.
Then, you need to make sure that the dyes match the fiber. Specifically, you need acid dye for wool, not fiber reactive dyes which are used for cellulose or plant fibers. (Don’t worry, the “acid” refers to the vinegar we will use)
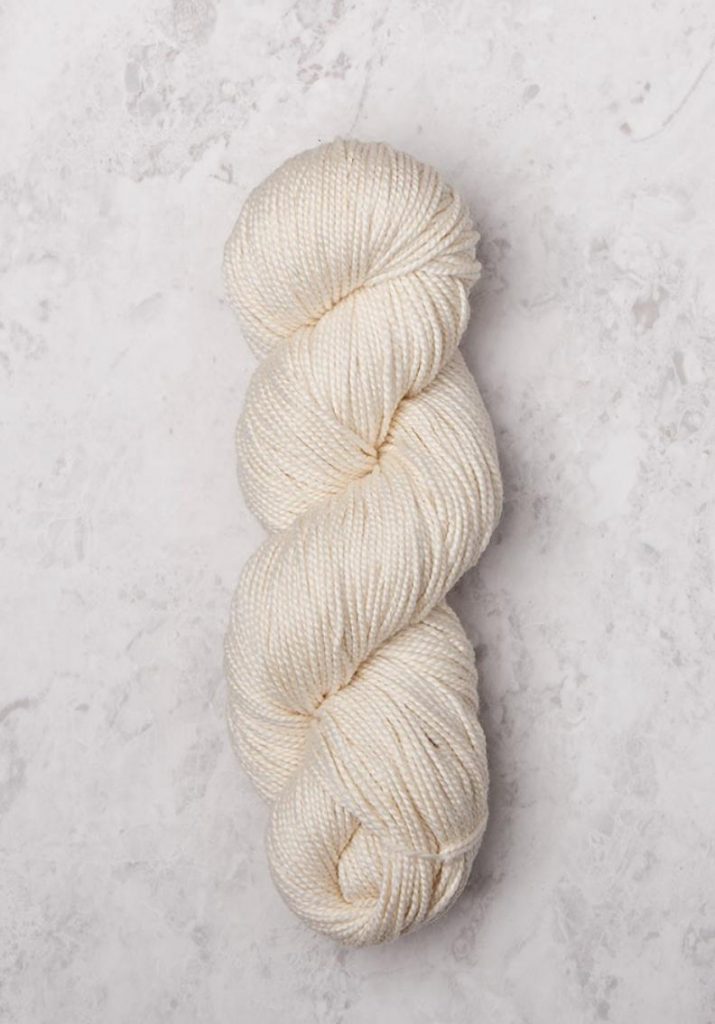
Note: this is my favorite Practice Yarn (choose a light color)
Supplies needed
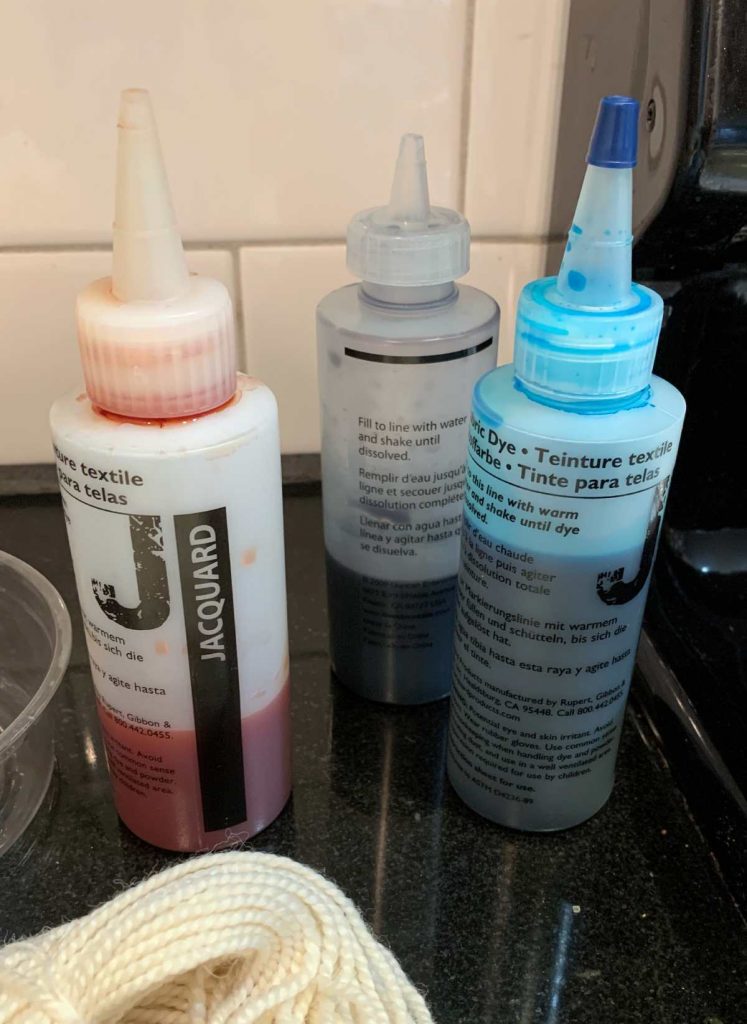
- Light color wool yarn (I used Bare Paragon)
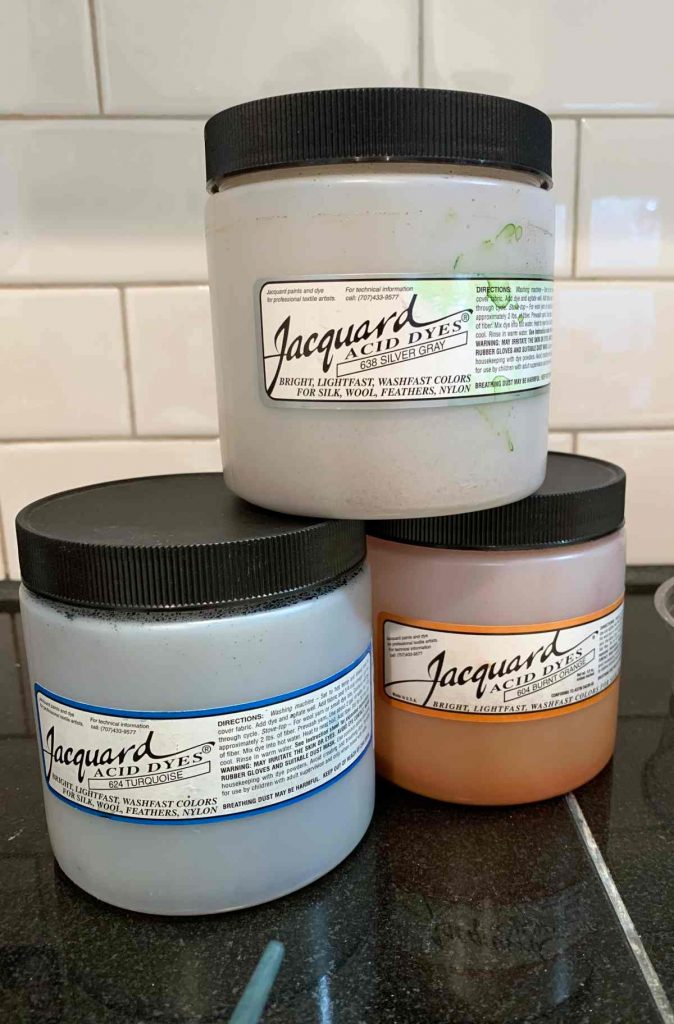
- Acid Dyes (I used Jacquard Turquoise, Silver Gray, Burnt Orange)
- White Vinegar
- Water
- Squeeze bottles
- Old containers (for mixing dyes)
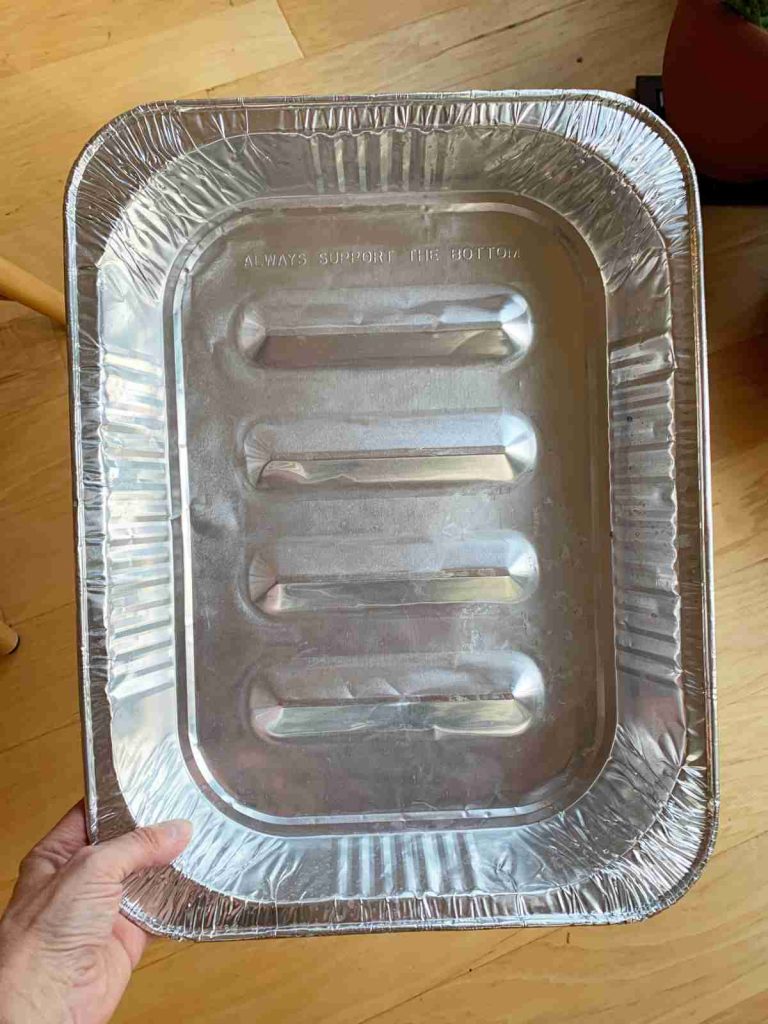
- Roasting pan or dye pot
- Old spoons or chopsticks
- Dust mask
- Gloves
- Hot plate or stove


Dyeing safety
Please keep in mind that although these dyes are safe to use, they are chemicals and should be used with a few precautions:
Work in a well ventilated area: If you can do your dyeing outside, that would be ideal. If you have to work indoors, make sure your room is properly ventilated with open windows and fans.
Use only dedicated pots and pans: ANY AND ALL equipment that you use for dyeing is no longer safe to use in the kitchen! (The only exception to this rule is if you use food coloring as dye.)
This includes: Pots and pans, microwave, crock pot, strainers, bowls, measuring cups, mixing cups and spoons, lids, scales.
Yarn dyeing process steps:
Before you begin it is important to note that when you dye wool yarn, there is a chance that it can felt if handled incorrectly. The two things you need to remember to prevent felting:
- Handle your wet yarn very gently and carefully anytime you need to move or rinse it
- Avoid extreme temperature changes
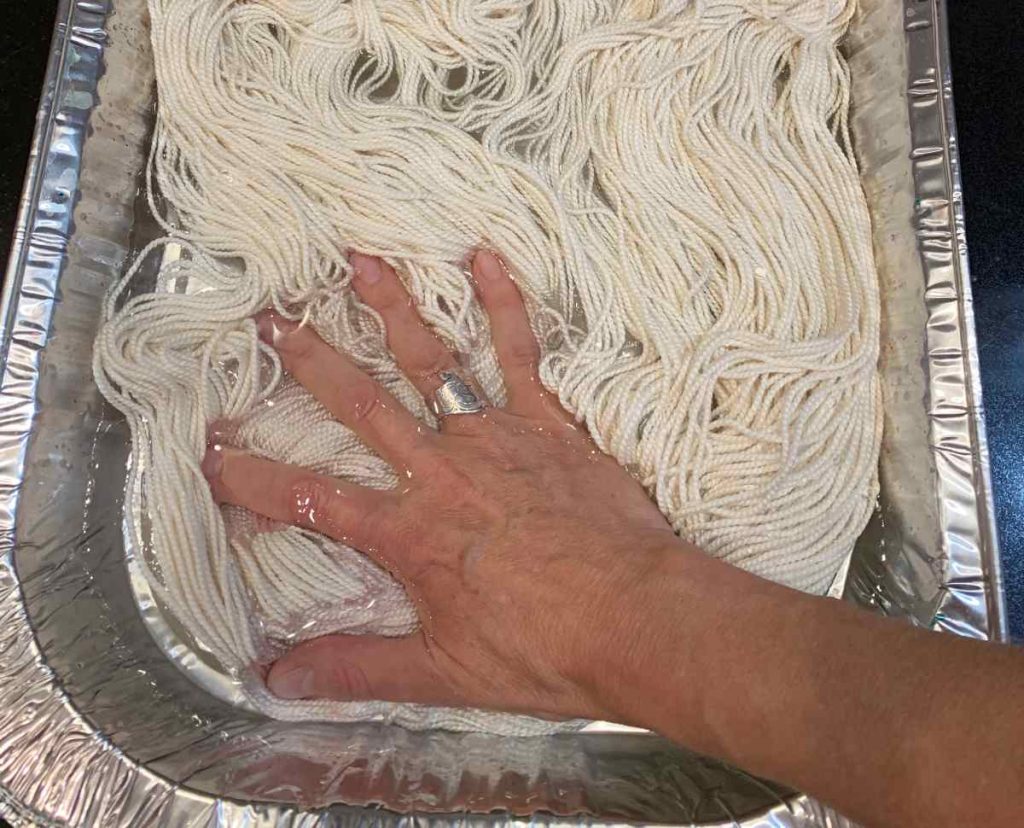
1. Soak the yarn
First you will want to soak your yarn in very warm water with white vinegar added. This can be done directly in your roasting pan. Pour enough water to cover about 1 inch of the bottom of the pan with warm water. Then, add about 1 cup of white vinegar.
Push the yarn down into the water to make sure it is completely submerged and then leave it for at least 30 minutes or longer to give the wool the chance to absorb the water.
Note: dry pockets of yarn will not take the dye the same way as wet yarn so you may end up with odd patches of color.
2. Mix the dyes
While your yarn is soaking, it is a good time to mix up all of your dye powders. You want them all to be ready to go.
How much dye you need depends on the amount of fiber you are dyeing. Check the specific directions on your dye containers for exact ratios.
Here is what I do with small batches. In this case, I am dyeing one skein that weighs 100 grams or 3.5 ounces so I will start with 1/2 teaspoon of dry dye powder to about 1 cup of water per color.
Keep in mind that you can always add more later if the color is not deep enough for you.
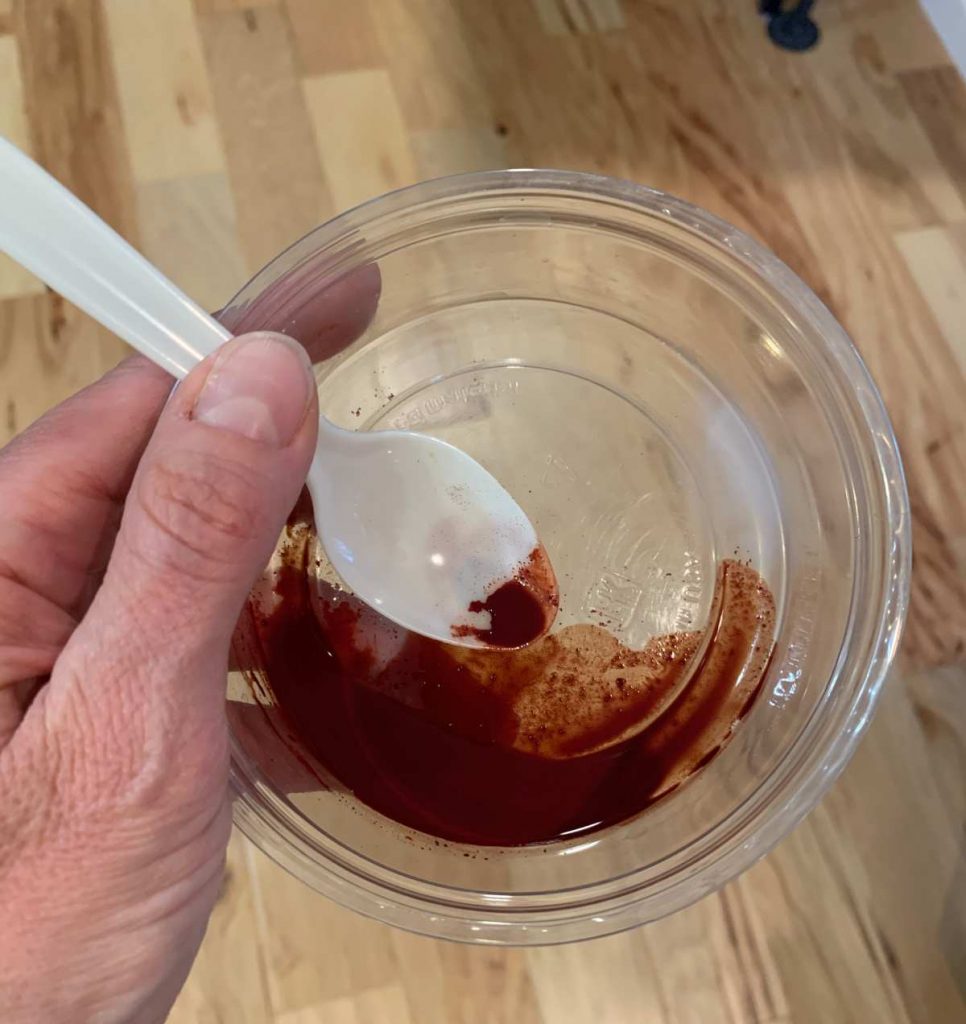
So, put your dust mask on and then measure out about 1/2 teaspoon of dye into a small, old container. Then add a small amount of hot water and work it into a paste with a plastic spoon. You want to get all of the dye wet, if possible.
Add a bit more water and keep stirring. Repeat until all of the dye is dissolved and then pour it into one of your squeeze bottles. Top it off with more water and shake thoroughly.
Repeat this with the rest of your colors.
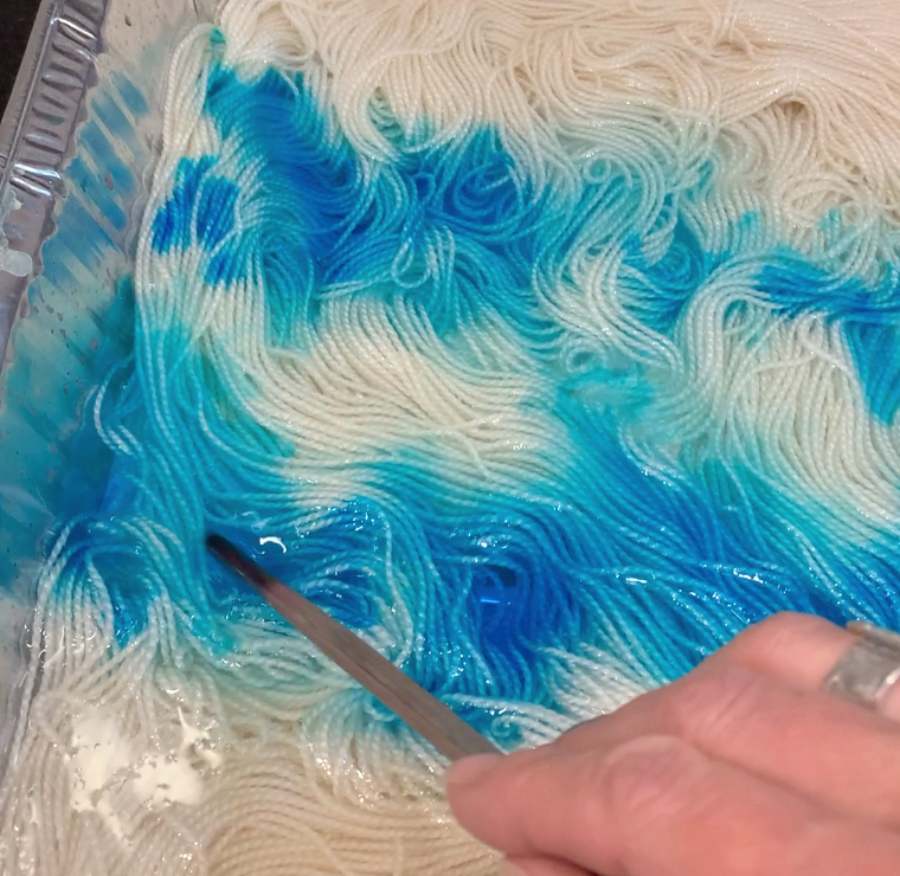
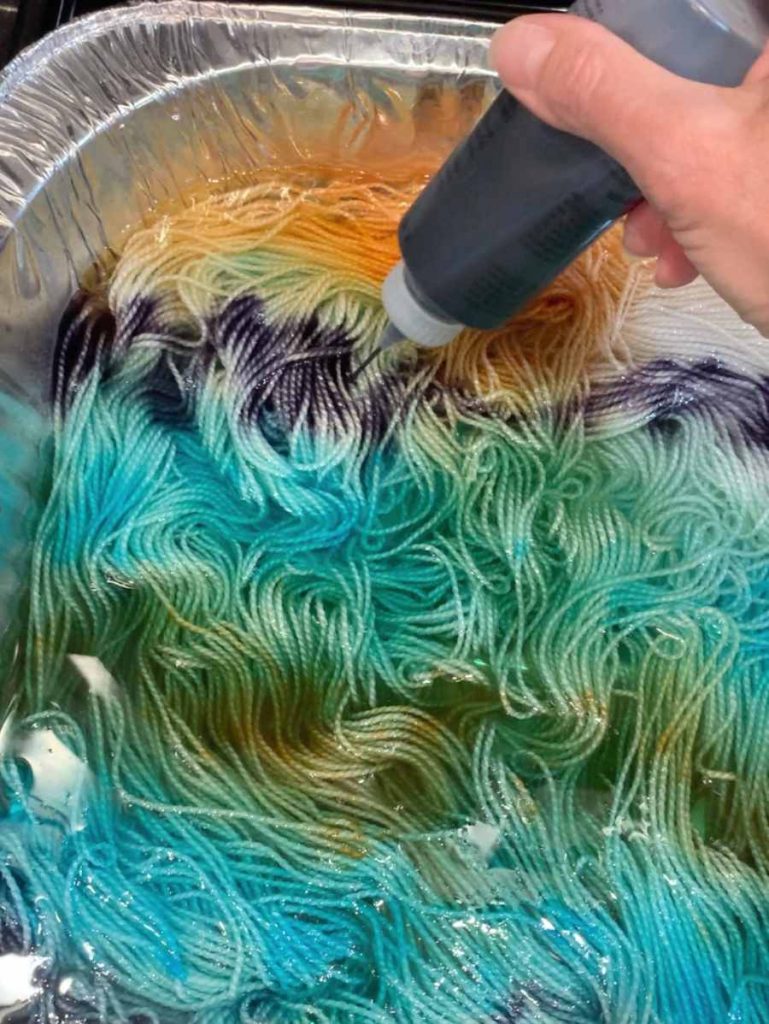
3. Apply the dyes
If your yarn is soaking in a roasting dish, you can set that on top of your hotplate or stove. At this point, I go ahead and turn the stove to low/medium heat. (If it starts to simmer, you want to turn the heat down).
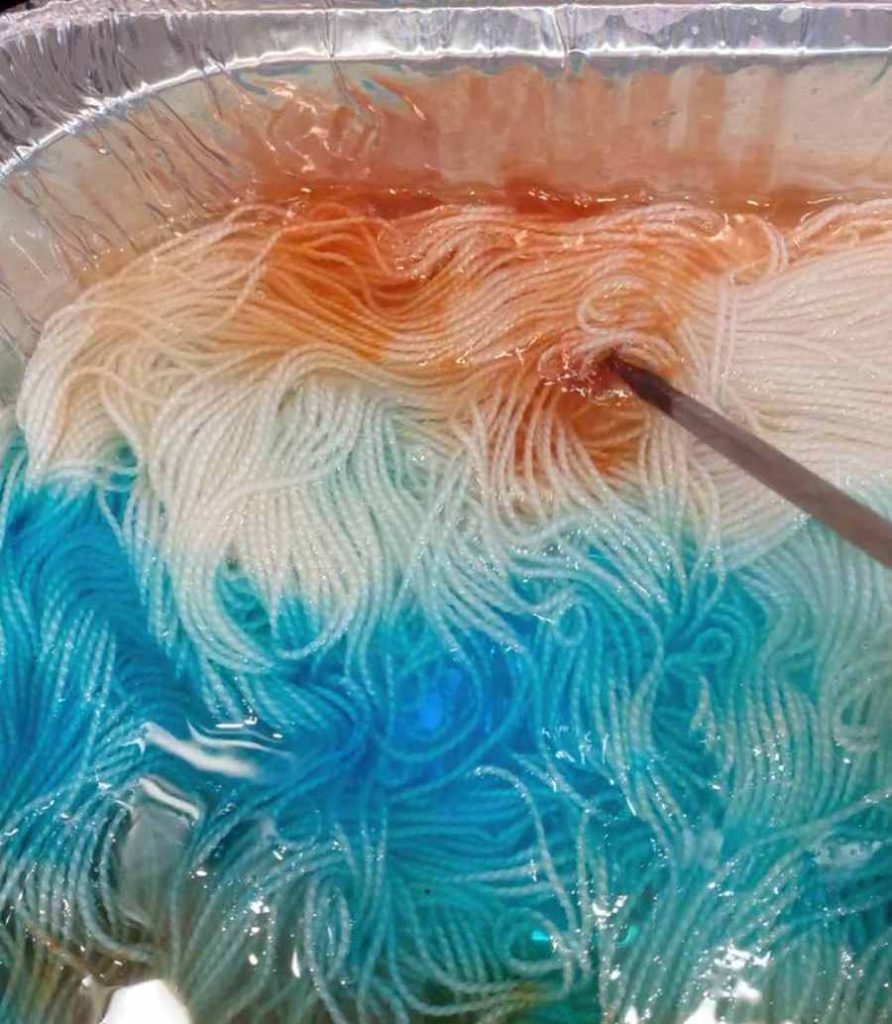
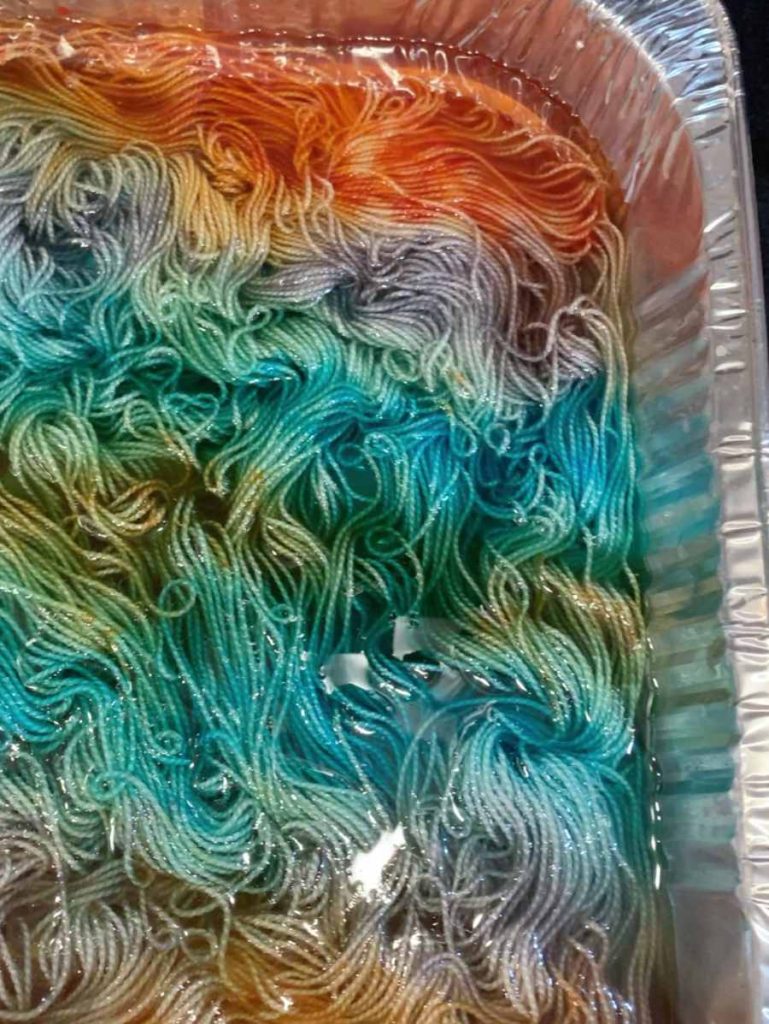
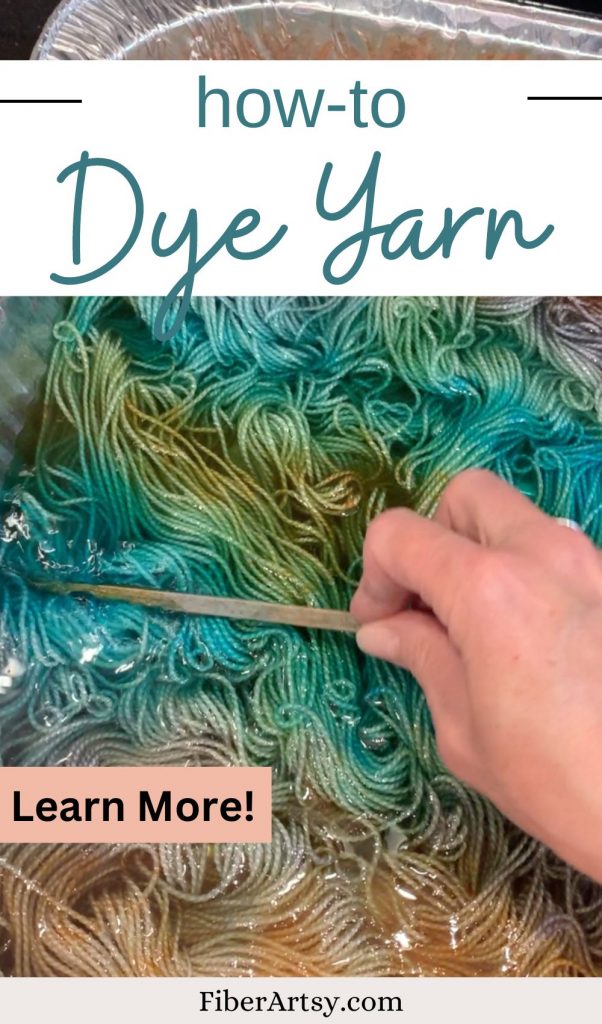
Note: make sure there is some water in your dish. How much water will depend on how muted and blended you want your colors.
For instance, if you completely cover your yarn with water, the dyes will have more of a chance to move around and mix with other colors. This will result in a more muted color palette.
A small amount of water keeps the dyes more localized, resulting in sharper colors and less mixing.
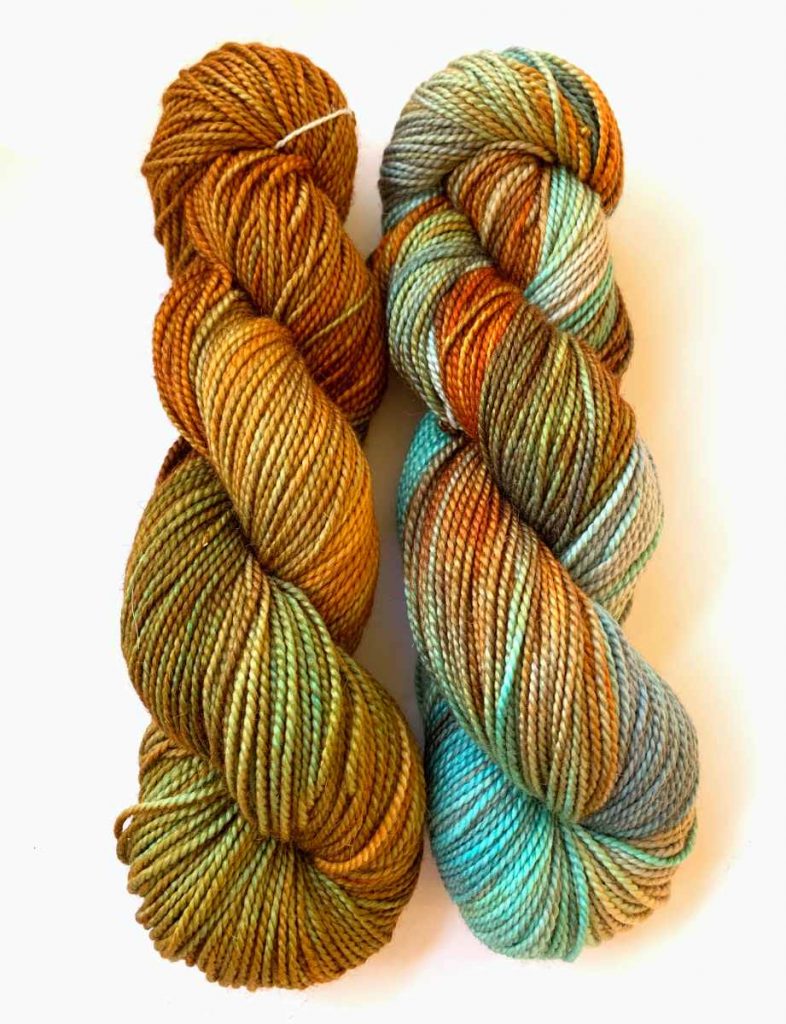
With the skein in the images below, I wanted muted colors so I used a lot of water.
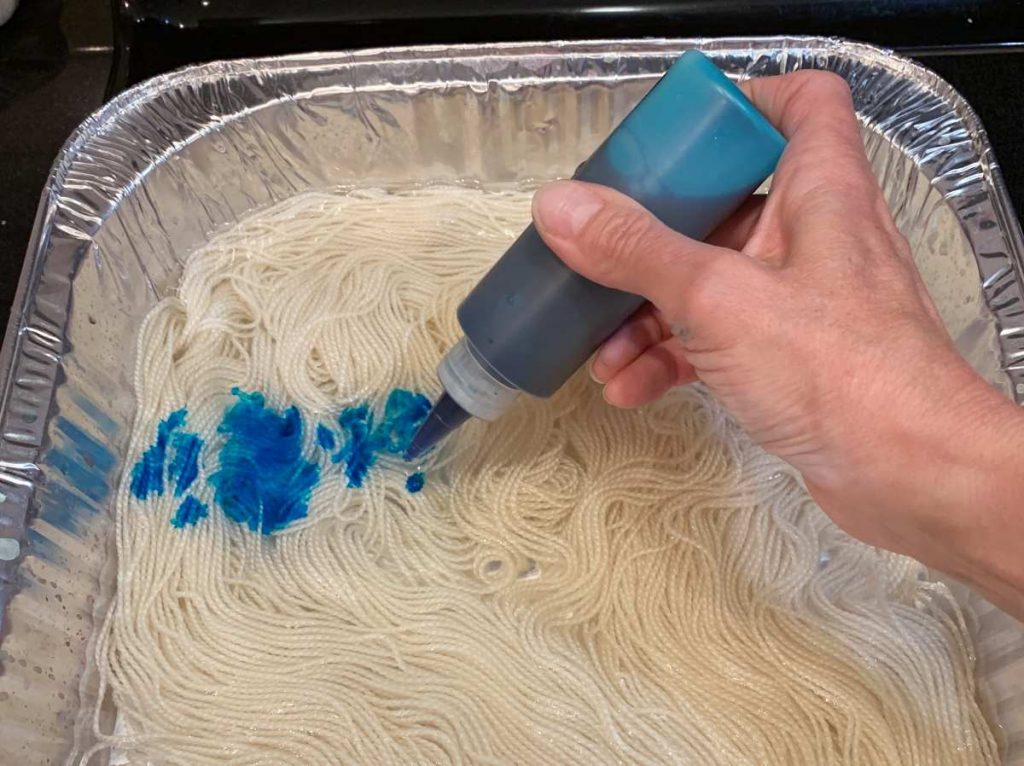
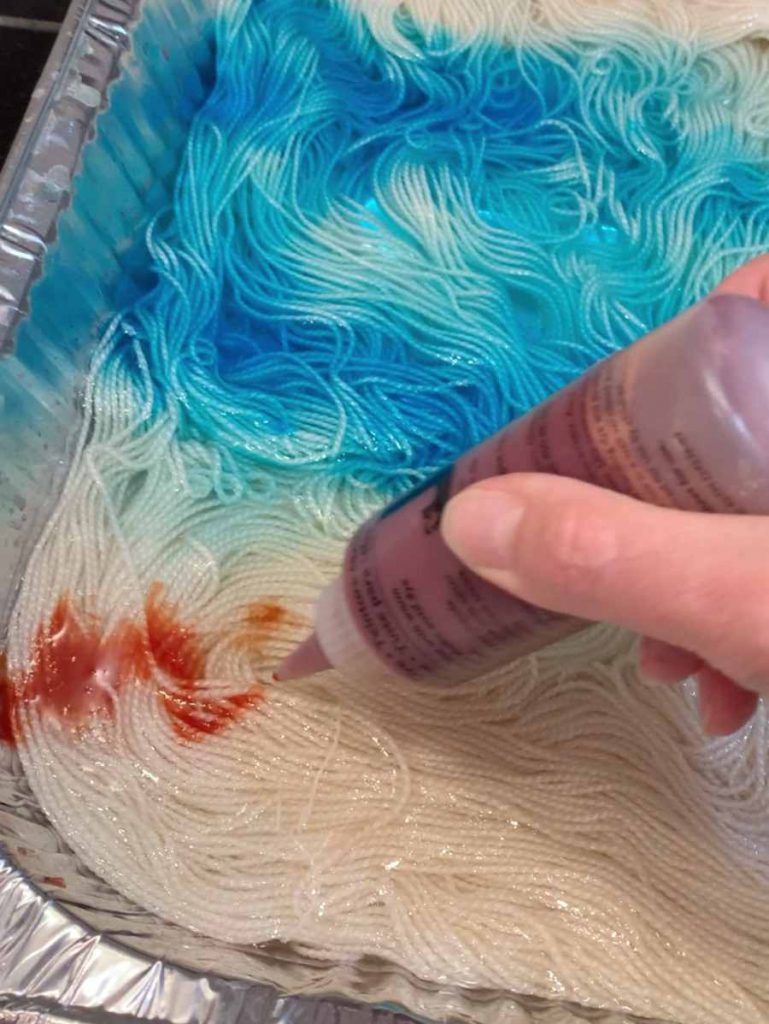
Take one of your squeeze bottles and apply some dye to your yarn. Don’t put too much dye too soon. You can always add more!
Next, take an old chopstick and stir the dyes a bit to make sure they get distributed.
Note: if you want brighter colors, stir less vigorously to keep the color in place.
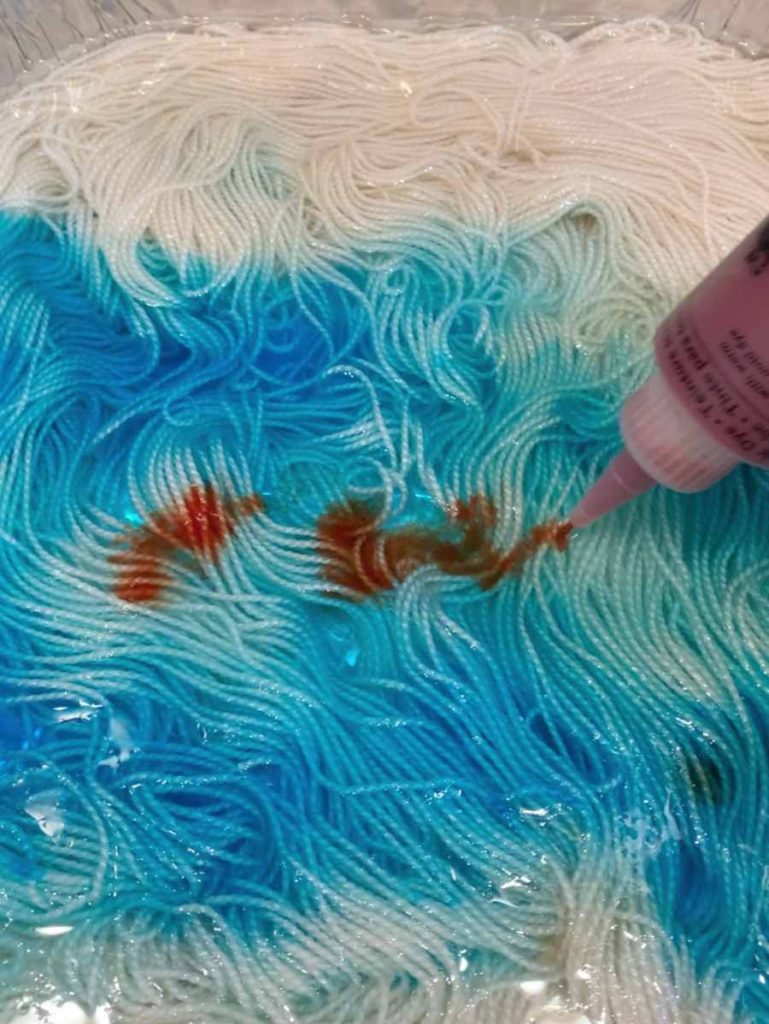
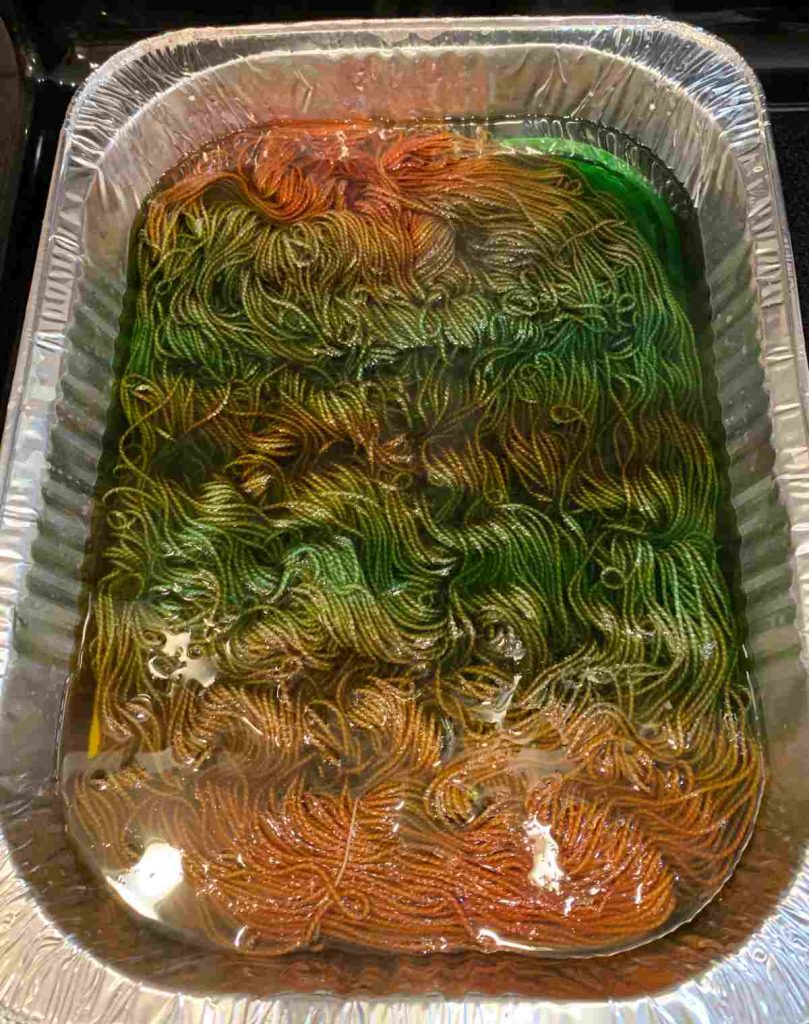
Repeat applying the dyes and distributing them with all of the remaining colors. You can overlap the different colors to create more tones or you can try and keep them separated.
Note: If you don’t use a lot of water, it may be harder to get color to the underside of the yarn so you may end up with white patches. You can carefully lift different sections with a chopstick to check the process.
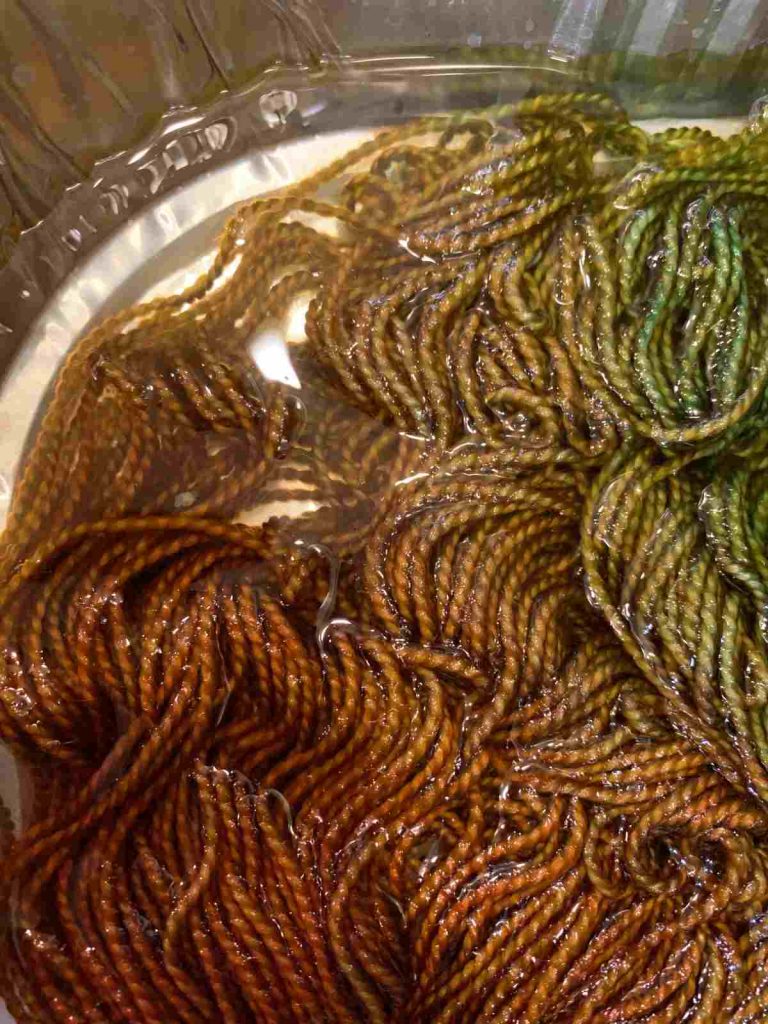
4. Heat the yarn
Once you have the yarn dyes where you want them, it is time to “process” or set the dyes. Turn the heat on your stove to medium/high until it begins to simmer. Then turn it down and just lightly simmer until all of the dye has been exhausted or absorbed.
This can take anywhere from 15 minutes to an hour. Once the dyes have been absorbed and the water is clear, turn off the heat and allow the yarn to cool completely.
5. Rinse the yarn
Once the yarn has cooled, carefully remove it from the pan and rinse it with room temperature water to remove any remaining dye particles. Remember to handle it gently and avoid extreme temperature changes.
Finally, just hang your freshly dyed skein up to dry completely. Your hand beautiful yarn is now ready to use!

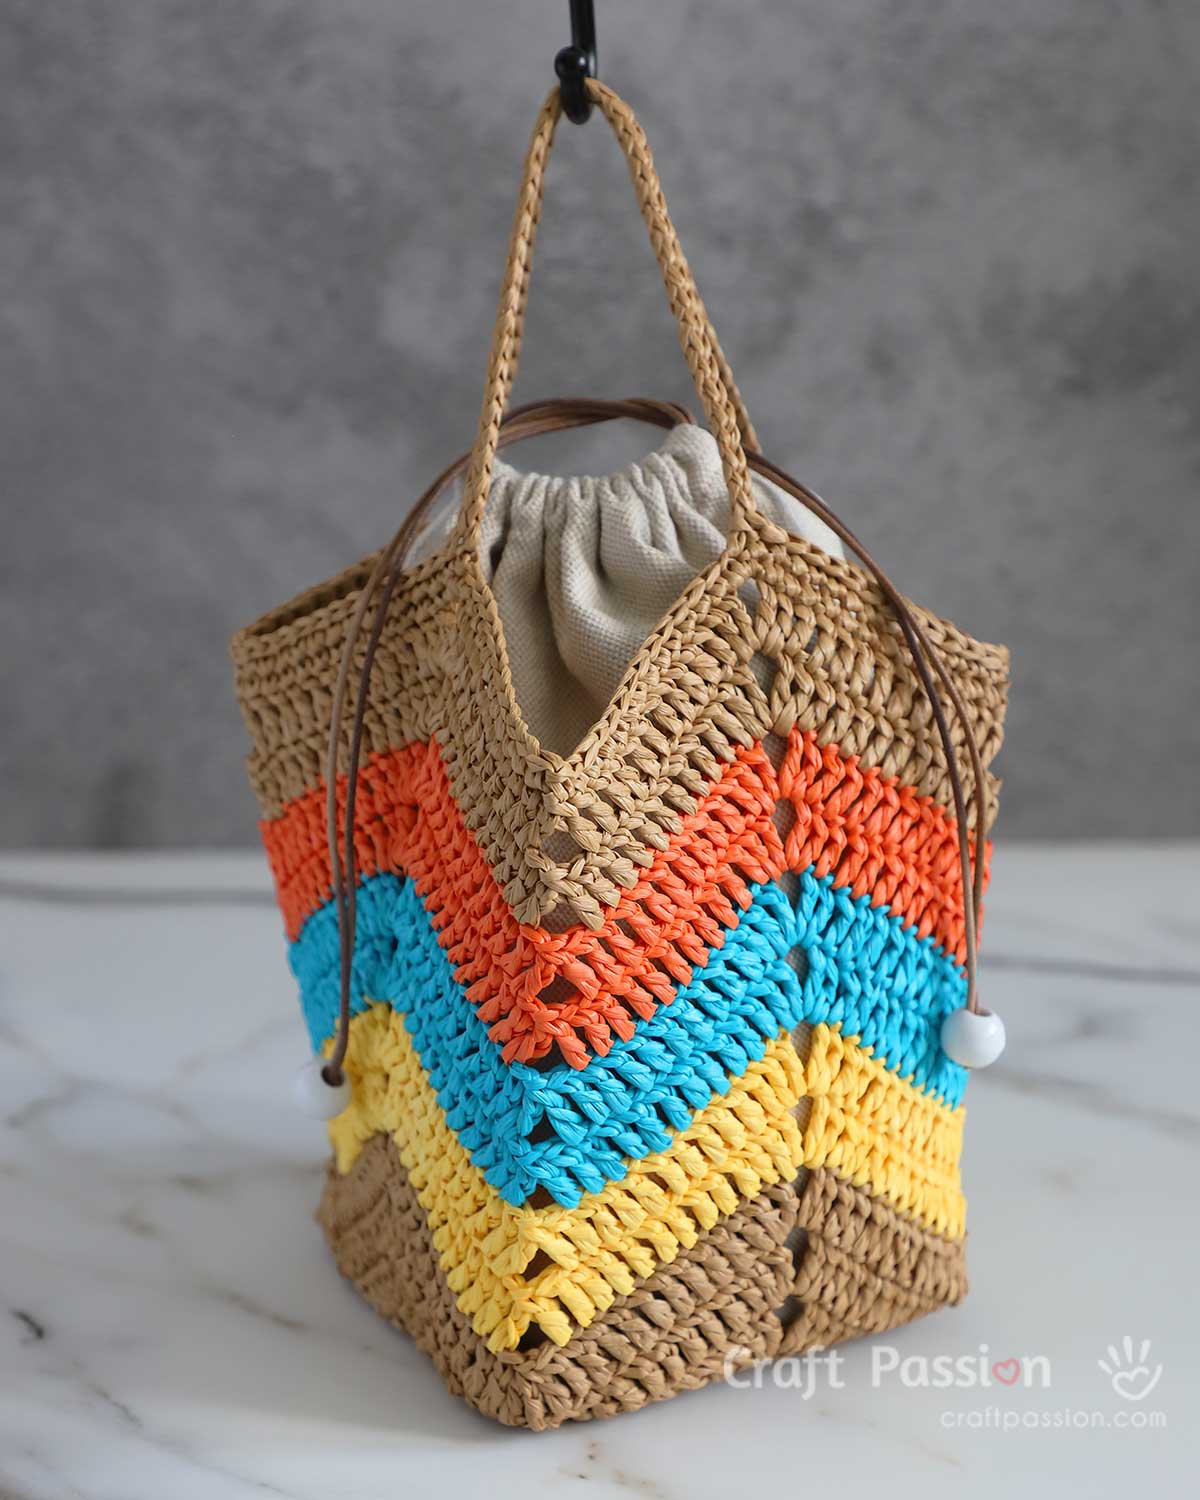
What can you make with hand dyed yarn?
These unique yarn colorways are perfect for knitting or crocheting one-of-a-kind scarves, mittens, hats and more. Just make sure that the type of yarn matches your chosen pattern.
For instance, if your pattern calls for worsted weight, make sure that is what you are using.
Hand dyed yarn also makes a wonderful diy gift idea for someone who loves to knit or crochet. Do you know someone who knits socks? This blank sock yarn takes Jacquard dyes beautifully and you only need one skein to make a pair of adult socks.

Your point of view caught my eye and was very interesting. Thanks. I have a question for you.