This is a sponsored post on behalf of GLAD.
Ah spring. It really is here for good. And along with the warmer temperatures comes a desire to start anew and spring clean the house, the closets and yes, the pantry too! I do a lot of baking in the winter and my pantry emerges from the colder months looking a little bit shell shocked and in great need of a spring makeover. As in, there are a lot of ingredients I buy in bulk in plastic bags stored in a very disorganised fashion. Sometimes there are multiple plastic bags with tiny amounts of the same ingredients in different locations (basement, upstairs pantry) – it’s generally a bit chaotic…
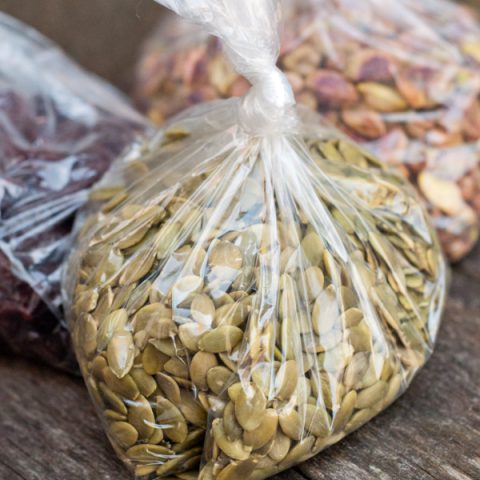
 That’s why I was excited when GLAD asked me if I’d like to celebrate spring by getting organised with some products designed to help me protect and preserve my food. I’m already a GLAD products from way back (I grew up in Australia where we call plastic wrap “GLAD wrap”), and I particularly love the Zipper bags for storing odds and ends (not just in the kitchen). This assignment reminded me how great they are for organising dry ingredients. I’m always lamenting our small kitchen and lack of pantry space and the fact that I can’t have all those gorgeous jars of dry ingredients lining my pantry shelves, but in reality, for things like baking nuts and dried fruit, flat packing them in a Zipper bag works just as well, even if it’s not as pretty 😉
When I got around to it, it took just 30 minutes to organise everything:


 This large GLAD Freezer Zipper bag is perfect for storing a bunch of the smaller Zipper bags (I used the Medium size here)
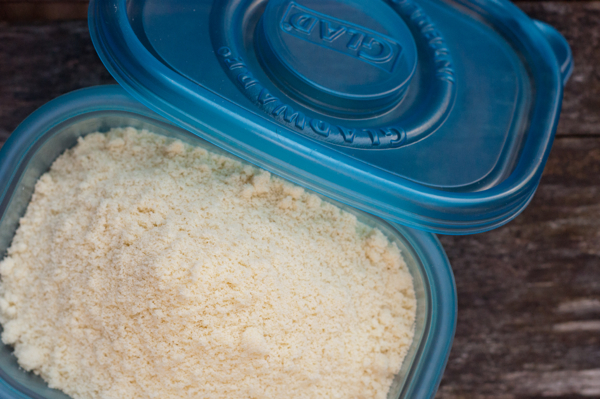
I also took the opportunity to collect odds and ends of my almond flour and store it all together in one of the Freezerware containers.
 (these are great because they can go in the freezer and they don’t crack as many plastic food storage containers have a tendency to)
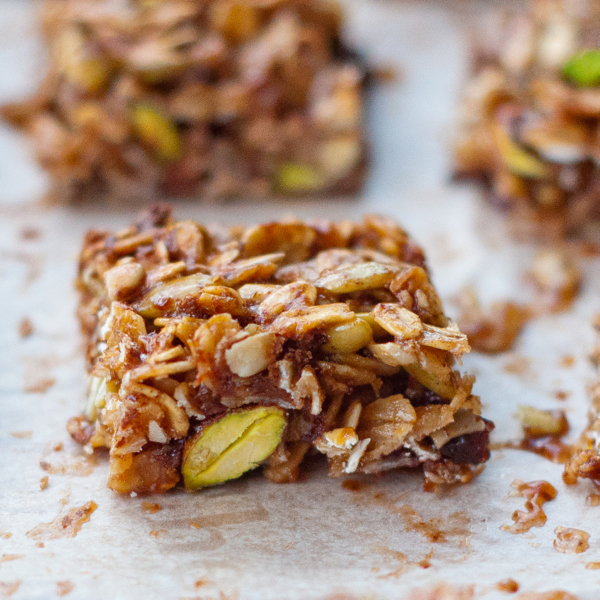
With all my dry ingredients organised, I took stock of what I had and, while there was a good quantity of most of the dried fruits and nuts, I noticed there was just a handful of dried cherries and mini chocolate chips. Noticing I also had a giant jar of brown rice syrup with just a little bit left in it, I figured what better way to use all these ingredients up than in some kind of granola bar.
 This version is inspired by Dorie Greenspan’s Granola Energy Bars that I had made a while back but it’s definitely more chewy and more “treat” than granola bar 😉 I used pistachios, sunflower seeds and pumpkin seeds (pepitas) as well as dried cherries and chocolate so each little square definitely has a lot going on – you only need a small square as opposed to a larger bar.

EasyRecipe Import test
Easy chewy granola bites.
Ingredients
- 1½ cups (150g) large flake rolled oats
- ¼ cup (40g) pepitas
- ¼ cup (40g) sunflower seeds
- ⅓ cup (45g) shelled pistachios
- 2 tablespoons flax meal
- ¼ cup (100g) honey
- ¼ cup (80g) brown rice syrup
- 1 tablespoon (15g) butter
- ¼ cup (55g) dried cherries, snipped in half with kitchen scissors
- ¼ cup (50g) mini chocolate chips
Instructions
- Preheat oven to 350°F.
- Grease an 8" x 8" baking pan and line the bottom and two sides with a strip of parchment paper (this will help you remove the bars once they have cooled).
- Combine oats, pepitas, sunflower seeds, pistachios and flax meal in a large bowl.
- Meanwhile, gently heat the honey, rich syrup and butter in a small saucepan over medium heat.
- Once the butter has melted, remove from the heat, transfer to a clean bowl and allow to cool slightly.
- Once the honey mix has cooled, pour over the dry ingredients and mix throughly to combine.
- Gently fold through the cherries and chocolate chips and press the mixture into the prepared pan.
- Bake for 25 minutes, then remove from the oven, place on a wire cooling rack and allow to cool completely - around an hour - before slicing.
- Store the squares in an airtight container (layered with parchment) at room temperature.

You’ll want to store these in an airtight container (with parchment in between the layers) – they are perfect to take along to a spring picnic. If they last that long – my neighbours will attest to the fact that they are very more-ish!
For more information on GLAD food storage products, visit www.glad.ca
Disclosure: I received compensation and a selection of GLAD product samples in exchange for writing about my experience using the products. All opinions are my own.